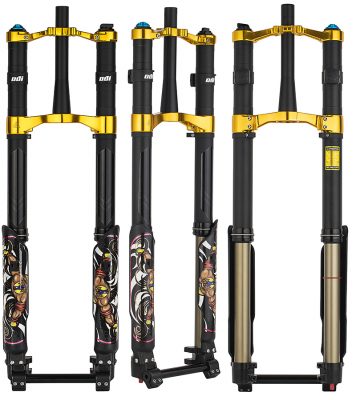
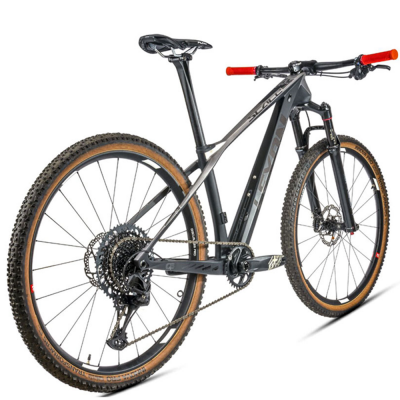
The correct suspension setting is the key element to maximize the performance of your mountain bike. Both the front suspension fork and the rear suspension require simple adjustments to achieve the best fit with a specific rider, so this information is relevant to riders of hardtail and full suspension mountain bikes. Fortunately, if you follow the simple steps below, you can set up your suspension in just a few minutes.
1. The sinking amount setting should be performed on a full set of riding tools, including shoes, helmets, etc., to ensure accuracy.
2. Fully rotate the blue knob on your suspension fork and the blue push rod on your suspension in a counterclockwise direction to set the suspension damping to “on”.
3. Use the shock calculator to find the PSI starting point that suits your MTB and weight, and then use the shock pump to adjust the shock absorber’s PSI to match your starting point.
4. Press the connected shock absorber down firmly on the seat to engage the shock absorber. Check the meter and adjust the PSI again if necessary.
5. Ride a bicycle while having a friend support your body or lean against the wall. Move the rubber O-rings on the fork and shock absorber away from the seal.
6. Get off the car carefully to avoid further compressing the shock absorber. Lean the bicycle on the side that helps this operation.
7. Measure the distance between the O-ring and the sealing ring in millimeters. This is your sag measurement value.
8. Use the shock absorber calculator to find your ideal sinking measurement value (in millimeters). If the difference between the measured sinking amount and the recommended sinking amount is within 2-4mm, please use your shock pump to adjust the PSI. If the O-ring moves too far, add air. If it does not move far enough, use the bleed valve to expel the air.
9. Use the suspension calculator to find the recommended rebound setting.
10. Fully rotate the red dial on your front fork or shock absorber to the closed position in a clockwise direction. Then, turn the red knob counterclockwise the recommended number of times.
11. At this point, the setting is complete, but remember that this is just a starting point. Arrange a short test drive with multiple crashes. If you feel a bumping feeling at the shock absorber position or a bounce feeling at the front fork position, please turn the red knob clockwise 1-3 times to slow down the rebound. If you feel that the shock absorber or the front fork is compacting, or cannot return to its original shape after continuous hits, please turn the red knob counterclockwise 1-3 times to accelerate the rebound.
12. After a few rides, measure the distance between the O-ring and the shock absorber or fork lowerer to recheck your settings. After standard riding, the distance the O-ring moves should match the specific stroke of your suspension or the distance of the fork. If the full travel distance is not reached, you may wish to lower your PSI. If the O-ring moves too far, or slips off the suspension axle, you may want to increase your PSI.
13. Remember, personal preference and riding style are important factors in finding the suspension settings that suit you. Please experiment with different levels of sinking and rebound until you find the most suitable combination for your mountain bike riding style.


