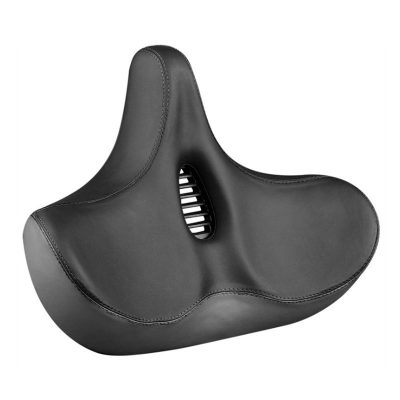
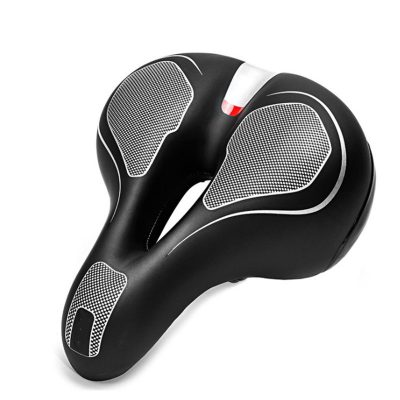
When your bicycle seat is set to the proper height, you will reap the benefits of increased comfort, reduced knee pain, and more power in each pedal stroke. Our step-by-step video and instructions will guide you through everything you need to know to set the saddle height correctly.
What you need: a multi-stool or a 4-5 mm sixteen-point wrench and a sturdy wall. If you have a carbon bicycle, you will want to use a torque wrench instead of a regular sixteen-point wrench.
Set a starting point
The first step is to loosen the seat post clamp so that you can raise or lower the seat. If your clip has a quick release lever, you only need to release the joystick. If the bolt is fixed, use a multi-volume or wrench to loosen the clamp. As a starting point, when you stand next to the bicycle, raise the horse bike seat to the height of the hip bone. Be careful not to raise the seat post above the minimum insertion line marked on the post itself. Then, tighten the seat post clamp.
Find fit
Stand next to a solid wall with your bicycle-when you test the height of your seat, you will use the wall to support yourself. Next, stand on your bike and squeeze the brakes. Put your hands on the wall for support and jump into the saddle. Pedal backwards several times and stop when one leg is at the 6 o’clock position.
Now place the foot ball on the pedal and straighten the leg. If you cannot straighten your legs completely, raise your saddle. If your knees are locked, but you still stretch to reach the pedals, lower your saddle. Jump off the bike, raise, lower, and make small adjustments.
If you can only touch your toes to the ground while sitting in the saddle, you will know that you have the right choice. If your feet are lying flat on the ground, your seat is too low. When you think you have found the right height, make sure the saddle is straight, line up the nose of the saddle with the top tube, and tighten the clamp.
Go for a test drive
Riding a bicycle for short rides is the best way to determine whether your saddle height is set correctly. Be sure to bring the multitube so you can make adjustments on the fly!