E-bike conversion kits are a popular way to transform a traditional bicycle into an electric-assisted bicycle (e-bike). These kits typically consist of various components that you can install on your existing bike to add an electric motor, a battery, and the necessary controls. Here’s an overview of how e-bike conversion kits work and what you might expect from the process:
1. Components of an E-bike Conversion Kit:
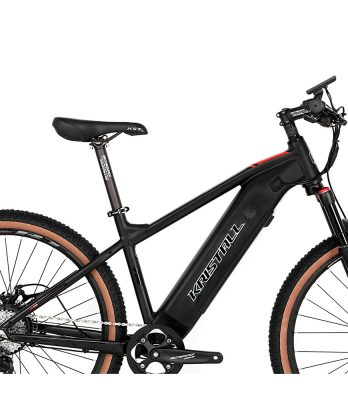
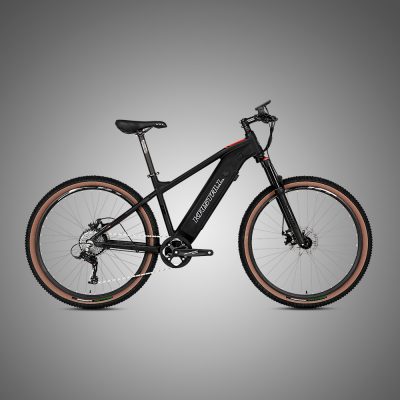
- Electric Motor: The motor is the heart of the e-bike conversion kit. It can be mounted on the front or rear wheel hub, or in some cases, directly on the crankset. Motors come in different power ratings, such as 250W, 500W, or even more powerful options.
- Battery: The battery is what powers the electric motor. It’s typically mounted on the frame of the bicycle. Battery capacity is measured in watt-hours (Wh) and determines how far you can travel on a single charge.
- Controller: The controller is the interface between the rider and the electric system. It allows you to adjust settings like power level, assist mode, and sometimes even regenerative braking.
- Throttle or Pedal Assist Sensor: E-bikes can be operated in different ways. Some kits include a throttle that lets you control the motor’s power directly. Others have pedal assist sensors that provide assistance when you pedal, with the level of assistance based on your pedaling intensity.
- Wiring and Connectors: These components link the motor, battery, controller, and other parts of the e-bike system together.
2. Installation Process:
The installation process of an e-bike conversion kit can vary depending on the specific kit and your mechanical skills. Some kits are designed to be more user-friendly and can be installed with basic tools, while others might require more technical expertise. Generally, the process involves:
- Removing the Wheel: If your kit involves a hub motor, you’ll need to remove the existing wheel and replace it with the motorized wheel.
- Mounting Components: You’ll need to mount the battery, controller, and other components onto the bike frame. This might involve securing brackets, mounts, and fasteners.
- Wiring: Connect the wiring and connectors according to the kit’s instructions. This step requires attention to detail to ensure proper functioning and safety.
- Testing: Once everything is connected, thoroughly test the e-bike to make sure the motor, throttle or pedal assist, and other features work correctly.
3. Benefits of E-bike Conversion Kits:
- Cost-Effective: E-bike conversion kits are often more affordable than buying a new e-bike, allowing you to transform your existing bike into an e-bike without a hefty investment.
- Customization: You can choose a kit that fits your preferences in terms of motor power, battery capacity, and other features.
- Sustainability: Converting your regular bike into an e-bike can extend its lifespan and reduce the need for manufacturing new bicycles.
- Familiarity: You get to keep the feel and comfort of your own bike while adding an electric boost for easier riding, especially on hills and longer distances.
4. Considerations:
- Compatibility: Make sure the kit you choose is compatible with your bike’s frame, wheel size, and brake system.
- Regulations: Check local regulations regarding e-bike conversions. Different regions may have specific rules about motor power, speed limits, and where e-bikes can be used.
- Skill Level: Depending on your mechanical skills, you might prefer a kit that’s easier to install or be prepared to seek professional help.
- Maintenance: E-bikes require maintenance, especially the electrical components. Consider if you’re comfortable with maintenance tasks or if you’ll rely on bike shops.
E-bike conversion kits can be a great way to experience the benefits of electric-assisted biking without fully replacing your existing bicycle. Just be sure to do thorough research, follow the instructions carefully, and prioritize safety during installation and operation.